Category: Uncategorized

  • Thinking about Space

    Thinking about Space

    Composition is something I have always enjoyed thinking about when developing a new art project. I think of composition as the arrangement of the pieces that make up the picture. I’m thinking back to a series of paintings I was making in 2020. For this series I was working outside from observation. I started each piece with some warm up drawings in my sketchbook.

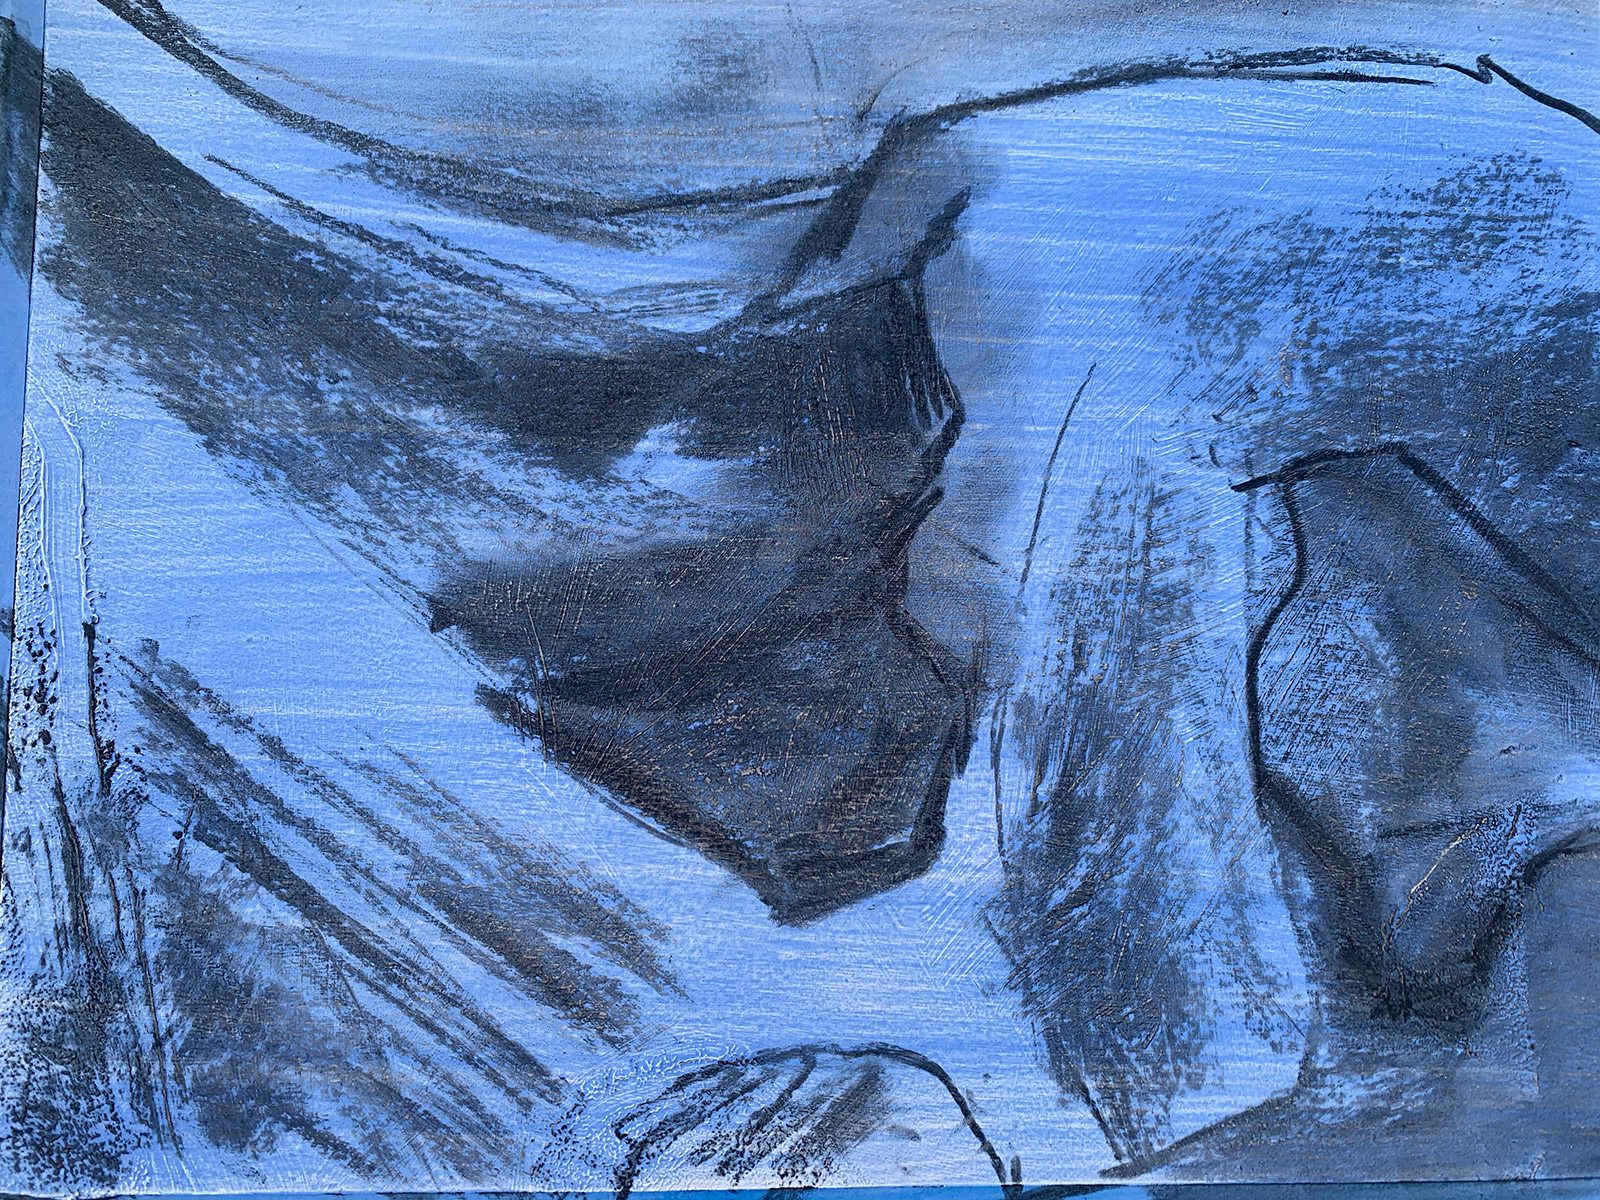
    I used charcoal for the early sketches since it allows for loose drawing and could be easily smudged and modified. It let me map out how the picture fit on the surface without the complexity of color and paint. After developing a composition I liked I would redraw it on a piece of larger prepared paper.

    For the prepared paper I used a sheet of Stonehenge paper, which I gessoed and toned ahead of time. This is something I like doing because it gives the painting a headstart. By preparing the surface there is already something to work against and add to, as opposed to just a flat white surface. I would do a charcoal drawing on the prepared paper as well.

    While the space was compressed in this composition, there were others in this series that were more open.

    This piece was done on a beach during low tide and captured the bright color of the sand around exposed rock and pilings. What interested me most about this composition was that in between space. Framed by the rocks and pilings, this space allows the viewer to wander through the picture. And that’s a quality that I try to add to most of my work through the use of space.

    In a more traditional landscape you often see this sense of space represented with the sky above the horizon. While there are alot of things filling in the area in the foreground, the sky offers an open place to rest in this picture.

    In this painting by the artist Clyford Still, I’m drawn to the combination of space and energy that is created in the brightly lit sky behind the two figures. There is something really nice about the marks as well as the gradation around the figure on the right. I like this space because I think it makes the subjects in the picture more meaningful.

  • Stencils and Circuits

    Studio view
    Boston Studio in 2014

    In 2013 – 2014 I was really interested in working with shapes found on circuit boards. I liked the designs of the boards and I also liked the idea of building Sci-fi worlds. I made a piece using a couple different stencils, which I printed in layers. This made it easier to create distinct colors in specific areas. I used a different color acrylic for each layer and printed it on a black piece of cardstock. First I did the blue gray layer, then added the white with a second stencil. The overall image is roughly 16″ x 20″.

    The dark background added to the futuristic idea and reminded me of 80s movies like Blade runner and Terminator. Having a couple different stencils meant that I had to think about registration, or how to line up the different stencils so that the different layers sync up.

    Alot of the work I was making at that time was done on paper, printed and painted. I was cutting it, tearing it, collaging it and layering it. While the circuit piece was done using a traditional stencil that I cutout with an Xacto knife, this larger maze-inspired work in progress was made using masking tape. I had taken a sheet of paper that had already been painted blue and taped over it to create the maze of verticals and horizontals. Then I applyed black paint. After peeling off the tape mask the original blue paint layer was still visible underneath.

    I was using mostly straight pieces of tape but here in the middle of this photo above you can see there were a couple pieces of tape that I tore to make irregular strands. Doing this adds an organic quality to the mask and also gets away from the repetitive tape edges.

    Pieces of paper can also be shaped and assembled and then attached over a paint surface to build a mask. Adding pieces of paper (like the ones below) and then taping over them or lightly gluing them to the surface creates more opportunities for unique masking of the art surface.

  • Masking and Working with Stencils (Part 3)

    In the last post I mentioned how you should keep the piece of paper that you cut out from your stencil. You can use it to block an area of paper by painting the space around it, a technique called masking. Using the same brush and paint as I did in my last post, I painted over the piece of paper I cut out to make the scissors shape.

    When I pull the mask away this is how it looks on the printed paper. The area underneath where the mask was should be almost completely free of paint. You can continue carefully painting the rest of the paper without the stencil.

    Once the red paint had dried I went back and put the original stencil over the scissor shape. I then painted that shape with the light red color. So with this process of alternating between the stencil and the masking paper I was able to apply two separate layers of paint and keep the stencil shape intact.

    Intermission (2 Recent Field Recordings)

    Using Found Objects

    If you’re interested in trying a more free form approach to masking off areas of your paper you can try working with found objects. For the next series I collected some fallen leaves and assembled them on my paper. Since these leaves are not sitting flat on the paper there will not be as clear of an edge to the shapes.

    The next step will be to apply the paint/ink. Since these objects do not sit flat on the paper I chose to use a small spray bottle instead of a brush to make the print. I filled the bottle with sumi ink, which is a water-based black ink. I sprayed the ink over the leaves, keeping the spray pointed in the same direction throughout.

    The 2 examples below are what I came up with using this technique. This process produced looser and more organic results than would be acheived with a paper mask or stencil.

  • Masking and Working with Stencils (Part 2)

    Once you’ve gathered all your materials, you will then decide what shape or shapes you want to use for your stencil. I recommend drawing them onto the paper before cutting out so that you have some initial guidelines. Then you’re ready to start cutting!

    Step 1: Setup your cutting board and assemble your tools.

    Step 2: Take your Xacto and start cutting. When positioning the xacto knife, try to keep the blade mostly parallel to the cutting surface. This minimizes the chance of dulling the blade prematurely.

    Step 3: Once you have your shape cutout, set it aside near your stencil. You’ll use this later as a mask to go with your stencil.

    Step 4: Put a small amount of paint down on your palette surface and dab your brush in the paint. (I like to use a glass palette because it stays in place and also makes cleanup easier.) Keep dabbing it until you get a good even coverage of paint on the brush. It’s important not to overload the brush with paint.

    Step 5: Lay your stencil over your artwork surface. Secure it in place with your hand so that it doesn’t move when applying paint. You can also tape it to your artwork surface.

    Step 6: Once you have the stencil secured you can begin to carefully apply the paint over the opening. When doing this try to keep the brush perpendicular to your paper surface. Notice how the texture changes as your brush begins to run out of paint. You can use that to create some variation in the print as desired.

    Step 7: Once you have painted over the entire stencil opening you can carefully lift up the paper. Be careful not to slide the paper as there could be excess paint around the edges of the stencil.

    At this point you have alot of different options to explore. In the next post I’ll talk about masking using the piece that you cut out from your stencil!

  • Masking and Working with Stencils (Part 1)

    Stencils are a great introduction to printmaking and can be combined with a wide variety of art mediums. If prepared well a stencil can create a unique print with a lot of character. The simplest stencil can be made with a piece of paper and scissors. Simply cut a shape out from a piece of paper. But I recommend investing in a x-acto knife with a #2 blade. This allows for great detail in creating the stencil.

    First step will be cutting out the shape you want to stencil. Then hold the paper onto your artwork surface, which could be paper, canvas, panel, etc. Then apply paint carefully over the stencil opening with your brush.

    Materials needed: brushes, paint, paper, x-acto knife, cutting board, paint palette, masking tape

    For brushes there a number of options but my favorite is blick’s “mega bristle brush”

    I like this brush for stenciling because it covers alot of area and its sturdy. As far as paint goes I recommend using a value priced artist acrylic. The paint will dry quickly and the consistency of acrylic won’t interfere with the stencil paper.

    As far as paper goes, I recommend using a paper with enough weight to hold up during the paint application. A decent drawing paper works fairly well. Paper from an 11″ x 14″ drawing pad like this one should work well.

    In my next post I’ll talk about the process of cutting out the stencil with an xacto knife!