Monotypes are a great printing method for people who work in painting and would like to try printmaking. Monotypes are done by painting onto a plate surface, placing paper over the painting and then applying pressure. This transfers the painted image onto the paper. The nice thing about this method is that its made the same way a painting is made. But it also adds a level of chance through the printing process that makes the finished product more of a surprise than a product of direct painting would be.
I started my process by taping my source image to my table surface to keep it from moving around. I chose to use a watercolor and ink drawing that I did of a nautilus a couple years ago. I then placed my glass plate on top of that image and added tape corners to mark the position of the glass plate. I did this so I can work in layers and this will let me maintain the image registration.

After getting my plate in place I started painting the orange layer onto the glass.
There are a couple things to keep in mind at this stage. Its important to be conscious of the brushstrokes. You want to try to think about the direction and the edges since these will show in the final print. You also want to work fairly quickly if you are using acrylic since it will dry out.

You want to avoid having piles of paint like the one shown here. Because when pressure is applied this paint will spread out and form blobs on the print paper.

After I was finished with the orange layer I placed my print paper over the glass plate face down. Using both hands I applied even, light pressure over the paper to ensure that it was secure. After that I increased the pressure. Before pulling up the paper I made tape corners to mark where I had placed the paper. This again will be useful for registration.

This is what the print looked like after I pulled the paper off the plate.

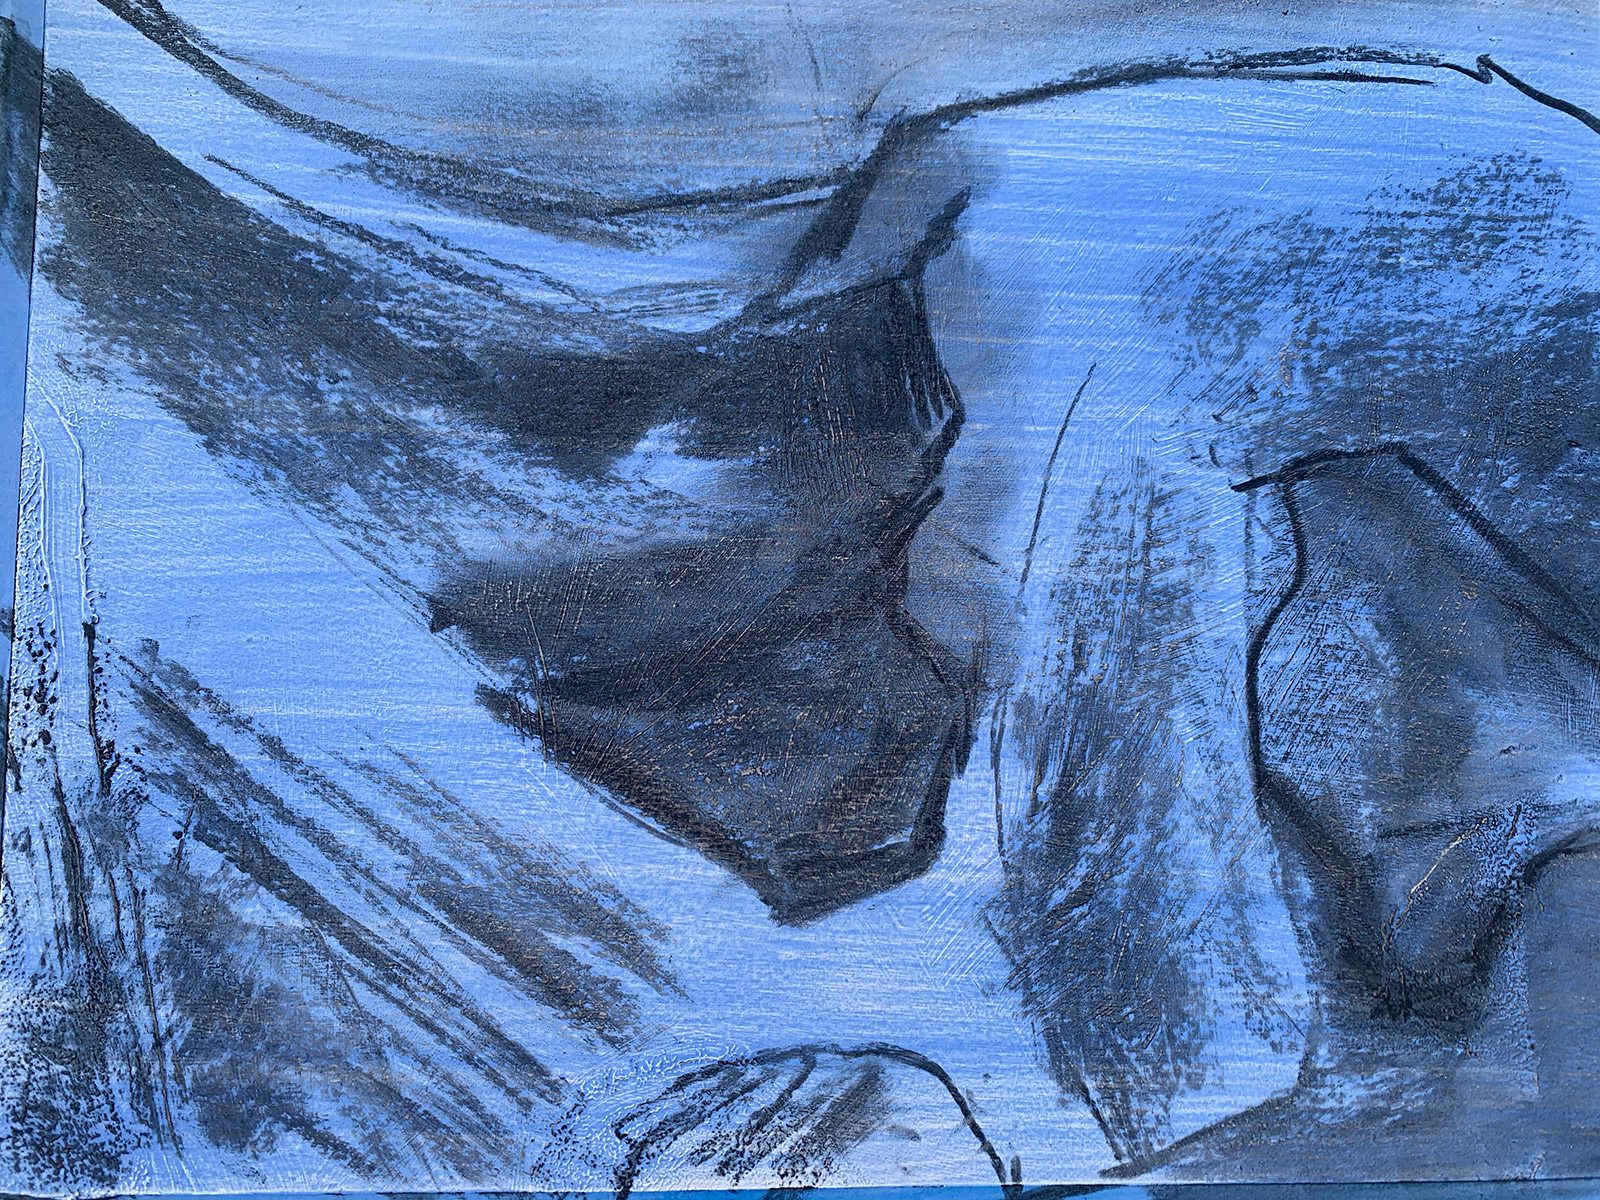
For the black layer I decided to work in phases since the paint was drying quickly. I did the right side with the stripe pattern first. Then I repeated the printing process, placing the paper within the tape corners I had marked in the previous print phase. This will ensure that the different parts of the image line up.

This is how my image looked after printing the first half of the black layer.

Here is my print after the third print phase where I added the other half of the black layer. One of the tricks to achieving good results with this print process is applying enough paint but also making sure its applied evenly. I like the combination of brushstrokes and solid paint that came out here, and would like to continue building the layers.